-
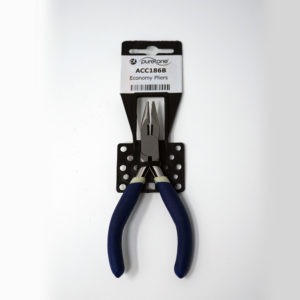
Economy Long Nose Pliers for Hearing Aid Tubi…
- £22.49
- Blue handled Economy Long Nose Pliers for removing and replacing your tubing from your hearing aid moulds.
- Add to basket
-
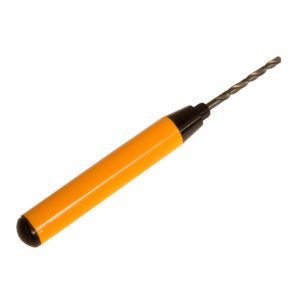
Tubing Extractor
- £10.49
- For ease of removing tubing from earmolds.
- Add to basket
-
Widex V.2 Thin Tube
- £10.99
- Replace your brittle or broken hearing aid tubes with Widex v.2 Thin Tubes, available in various lengths and diameters for optimal fit and performance. Brand: Widex Includes: Pack of 2 Thin Tubes (Left or Right) Compatibility: Widex Moment BTE Widex Magnify BTE Widex Evoke BTE
- Select options This product has multiple variants. The options may be chosen on the product page
-
Signia/Connexx Thin Tube 3.0
- £10.49
- Replace your brittle or broken hearing aid tubes with Signia/Connexx Thin Tube 3.0, designed for optimal fit and performance. Brand: Signia/Connex Includes: Pack of 2 Thin Tubes (Left and Right)
- Select options This product has multiple variants. The options may be chosen on the product page
-
Widex Easywear V.1 Thin Tube
- £8.99
- Replace your brittle or broken hearing aid tubes with Widex Easywear V.1 Thin Tubes, designed for optimal fit and performance. Brand: Widex Includes: Pack of 2 Thin Tubes (Left or Right)
- Select options This product has multiple variants. The options may be chosen on the product page
-
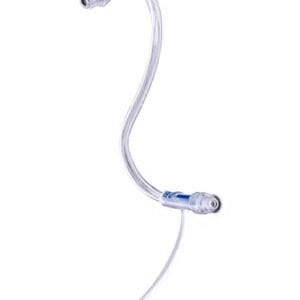
ReSound Surefit 2C Thin Tubes (2 pack)…
- £11.99
- Over time, hearing aid tubing can become damaged, stiff, and yellow so it is important to replace them semi-regularly. A quick way to check if your tubing needs changing is to gently squeeze it. If it goes back to its normal shape then the tube is still fine, however, if it remains in the bent shape, it needs to be…
- Select options This product has multiple variants. The options may be chosen on the product page