Description
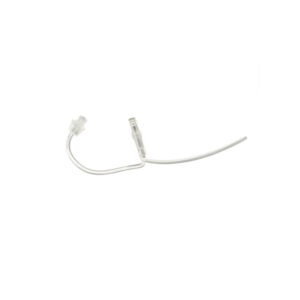
Tubing is the clear element that connects a behind-the-ear hearing aid to the earmould. Hearing aid tubing comes in various thicknesses and should be soft and flexible. A soft and flexible tube allows for optimum sound quality and maximum comfort when worn on the ear. Over time, hearing aid tubing can become brittle, discoloured and may even crack. This can take anywhere between 6 to 18 months depending on your everyday usage.
As a rule of thumb, when your hearing aid tubes are brand new you should be able to squeeze them between your thumb and index finger. However, once it goes hard, you will no longer be able to squeeze it. It is at this point that your hearing aid tubes require a replacement.
Furthermore, wax and other debris may collect in your tubing and earmould. Consequently, this can have a serious impact on the sound quality and the level of comfort you experience when wearing your hearing aids. As a result, we recommend that you re-tube your hearing aids every four to six months in order to maintain optimal performance.
How to use:
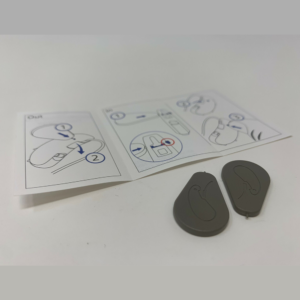
It is possible to take your hearing aids to your audiologist or hearing care professional to have them re-tubed. However, if you feel confident that you can undertake the task yourself, please consult the below guide.
- Pull the old tubing out of the earmould. Do not throw the old tubing away as you will need it as a guide for measuring the length of the new tubing later.
- Cut the last 2 centimetres from one end of the new piece of tubing. This can be achieved with the specialized tool that comes as part of this kit. If both sides are not identical then you should cut the shorter side without the additional bend. Be sure you cut at a slant to create a tapered edge.
- You should be left with a tapered end to the tubing.
- The tapered end should be pushed into the hole in the outer face of the earmould (not the end which fits inside your ear). The tube needs to come OUT of the end which sits inside your ear while you’re wearing it.
- Thread the tubing through the earmould.
- You should allow all of the tapered sections to come through to the other side.
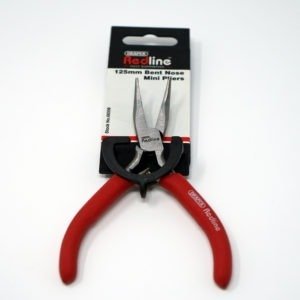
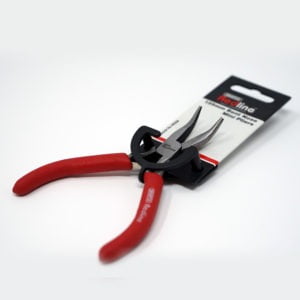
- Using the pliers in this kit, pull the tube until the bend reaches the earmould entrance – where you fed the new tube in originally.
- Use your scissors to cut the tapered tubing as close as possible to the earmould. Any piece of tube which sticks out could rub your ear making it very sore.
- Take the old piece of tubing you saved and line it up with the newly threaded tube.
- Cut the end to the same length the previous one was cut to. If you cut it too short or too long, the aid will either pull off your ear (too short), or it will drop off your ear (too long).
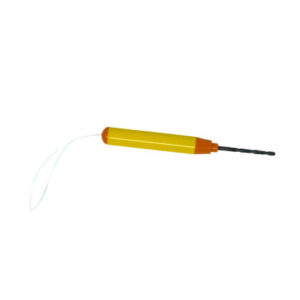
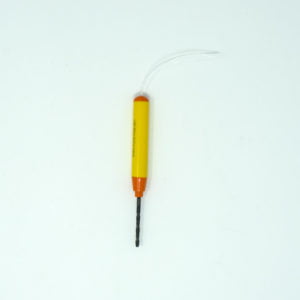
- Push the end of the tubing onto the plastic nozzle (coupler) on your hearing aid. You may need to use your tubing expander to widen the tubing at this top end, to allow you to fit it properly. If possible, avoid stretching it too much, otherwise, you risk splitting it.
- Turn the tubing round on the coupler, in the correct direction to allow it to sit comfortably in your ear.
For assistance please contact us on: (+44) 01455 245749
What’s in the box?
- 1x pair of pliers
- 1x tubing expander
- 1x surgical blade
- 1x rounded end scissors
- 1x small screwdriver
- 1x pointed tweezers
- 1x tubing Extractor
- 1x tubing Threader


